Try ZyperOS on Your Mac, No Handheld Needed
You don't need a GKD Pixel 2 or a TrimUI Brick to see ZyperOS. It runs on a Mac too, in a window drawn as the handheld itself, and you press its buttons with the keyboard or the mouse. There are two ways: desk mode, which puts the launcher and a game on your screen in a few minutes, and the ZyperOS Simulator, which runs the whole system. This guide walks through both, for anyone curious and for anyone who wants to help build it.
On this page
These steps follow ZyperOS's source on GitHub after 1.0.6. You need a Mac, Terminal and a few commands.
Which way to pick
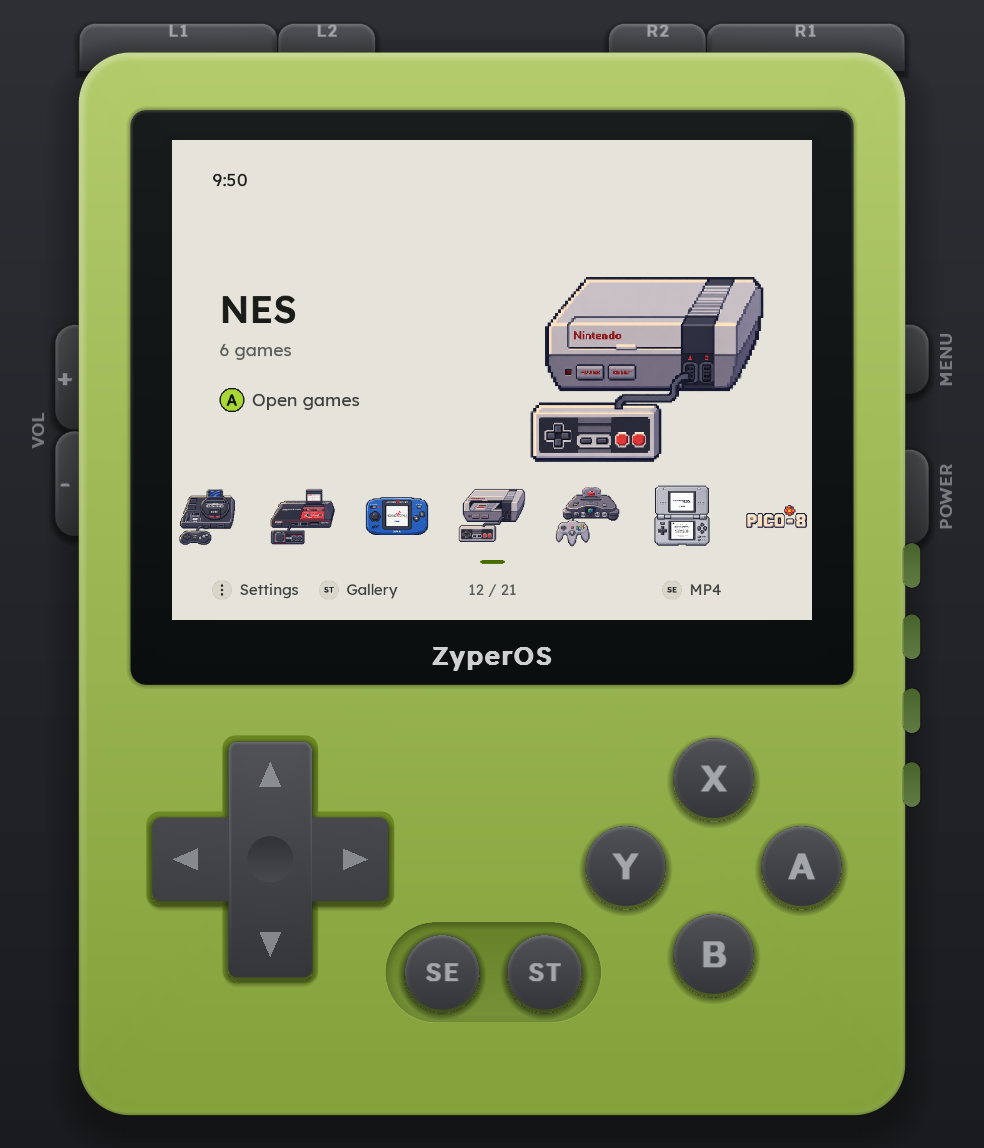
- Desk mode is ZyperOS's launcher, the same code the handheld runs, built for your Mac. The menus, the settings, the themes, the languages and a NES game with its in-game menu work as on the handheld. It is ready in a few minutes, as the GKD Pixel 2 or the TrimUI Brick.
- The ZyperOS Simulator is the whole system: ZyperOS's Linux, built for the GKD Pixel 2, running in QEMU in a window drawn as the Pixel 2. It boots, runs the first-start setup, and shows the battery, the charger and the side lights. Today it needs an image you build yourself, which takes a few hours the first time.
To look around, start with desk mode.
Desk mode, step by step
- Open Terminal and install Xcode's command-line tools, if you don't have them yet:
xcode-select --install. - Install Homebrew, then the libraries desk mode uses:
brew install sdl2 sdl2_image sdl2_ttf xz - Get ZyperOS's source:
git clone https://github.com/tarikbc/ZyperOS cd ZyperOS - Start it as the GKD Pixel 2 with
make desk, or as the TrimUI Brick withmake desk-brick.
The first run takes a few minutes. It builds the launcher, Diatom (ZyperOS's emulator) and a NES core, and makes a sample card with a game on each system. The games are empty files named after well-known games, so the shelves look like a real library. The one that plays is ZyperOS Test.nes, ZyperOS's own NES test cartridge. What you change in the menus stays on that card for the next run.
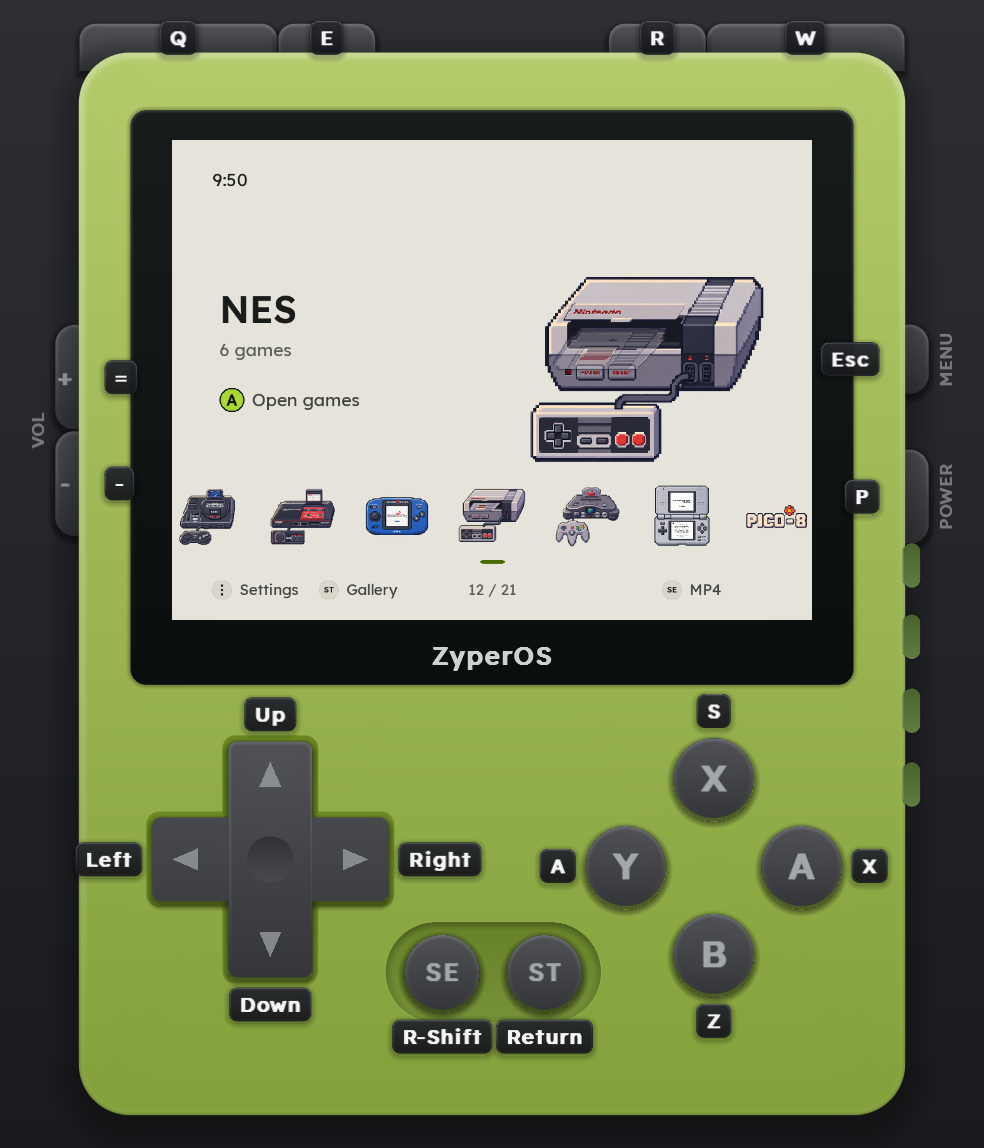
The window draws the handheld to its measurements, one pixel of its screen to one of your display's, which on a Retina display is about its real size. It runs at the handheld's 60 frames a second, and a press shows on the next frame. Linux works too, with the same libraries from its own packages.
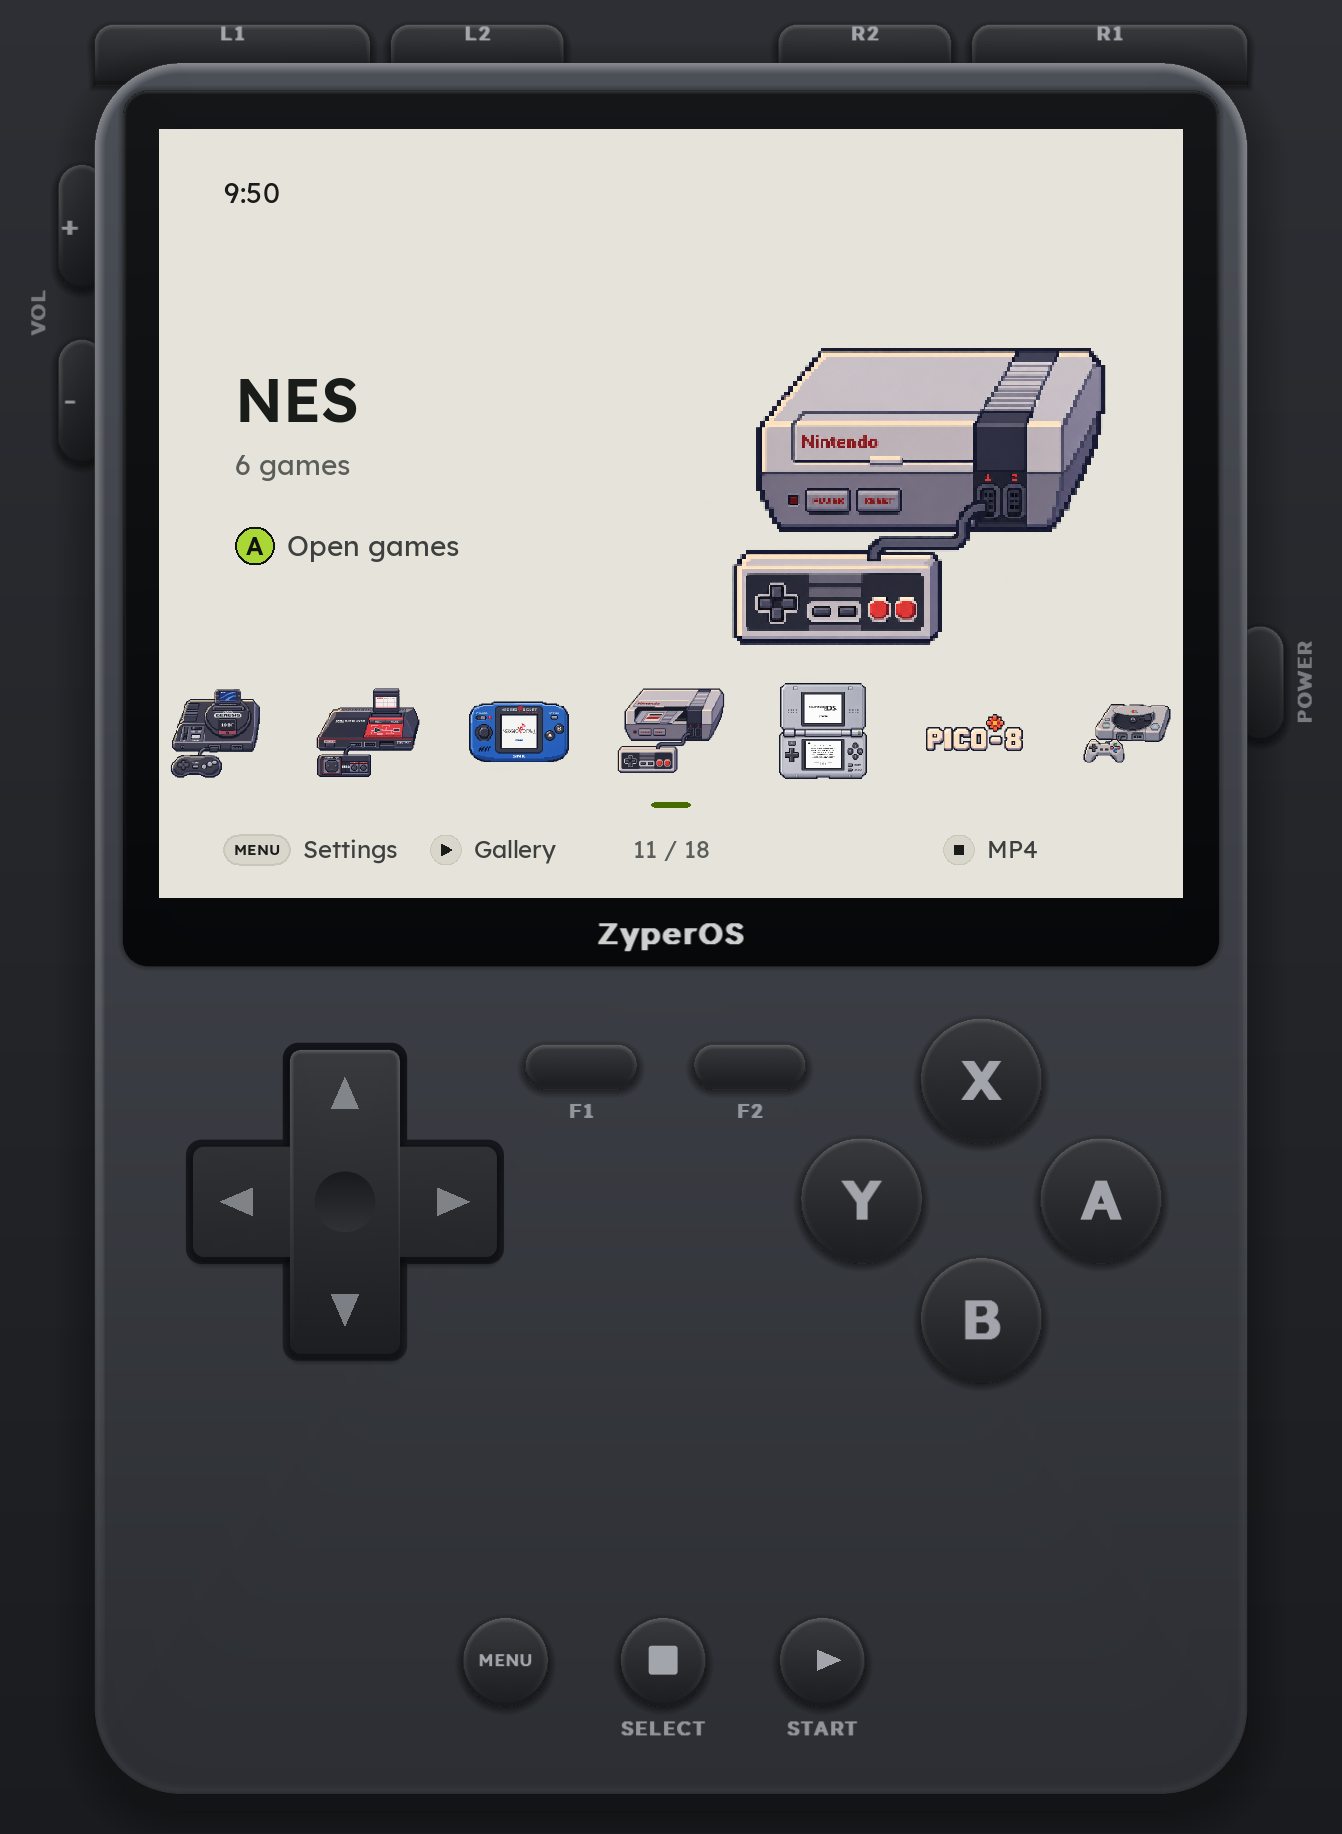
make desk-brick: the same launcher on the TrimUI Brick's 1024x768 screen.Play a game in the window
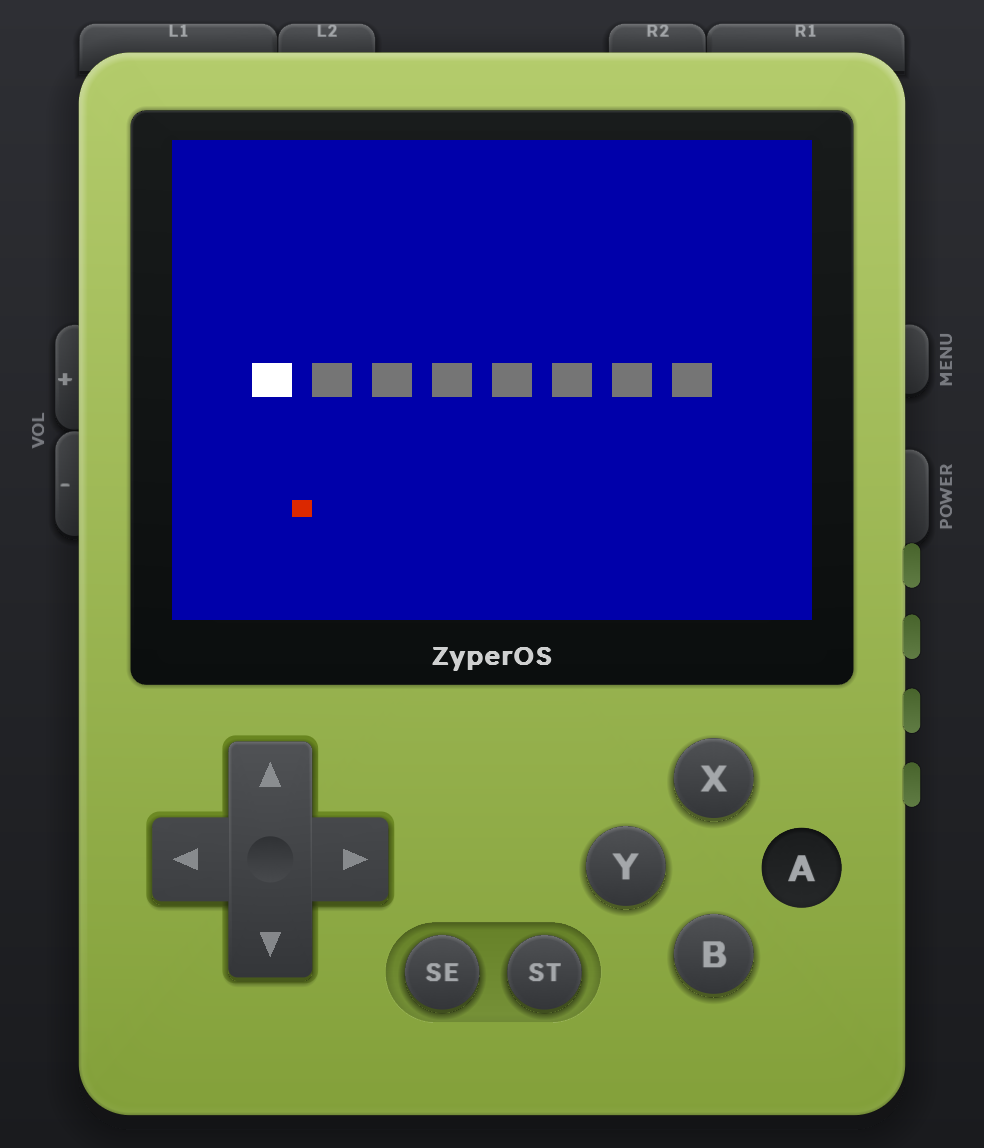
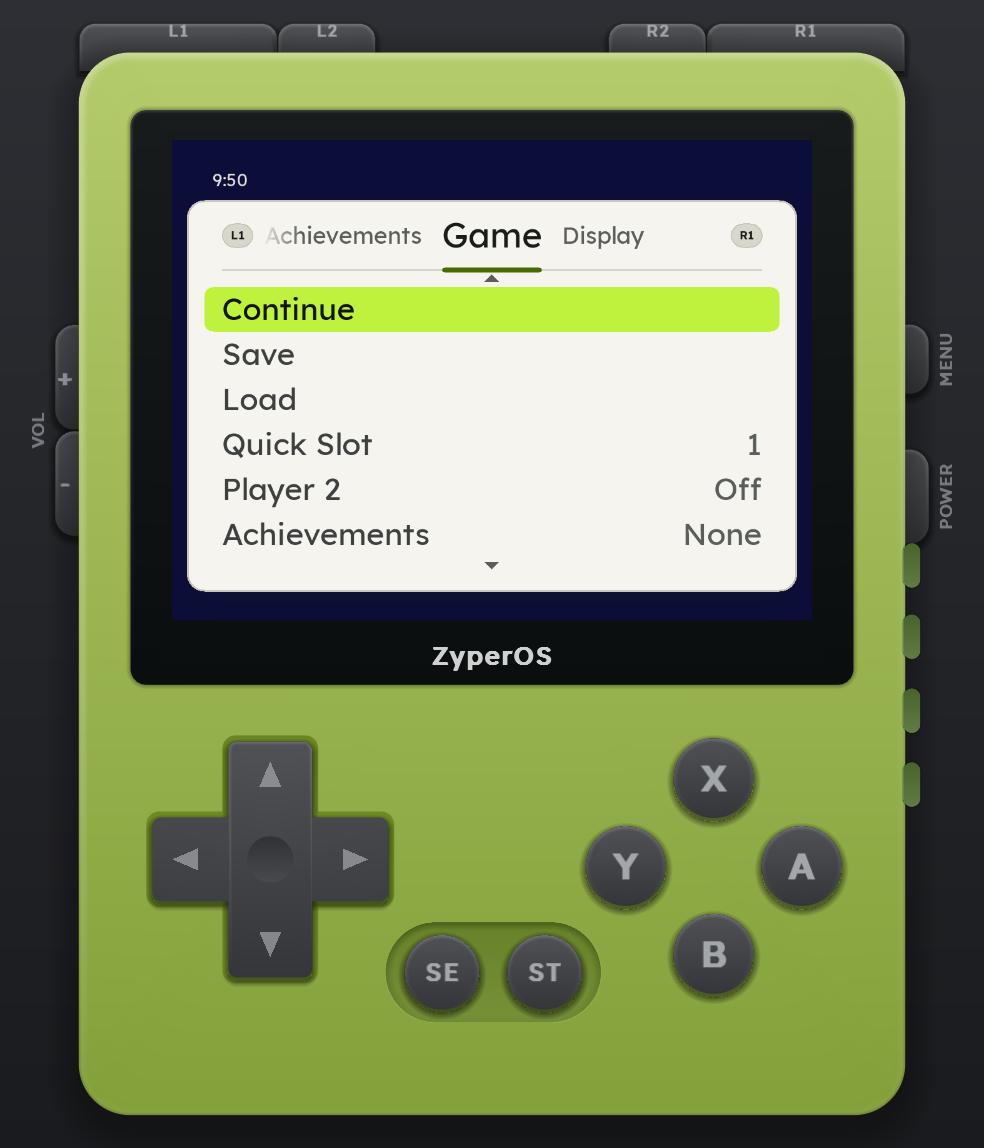
Open the NES shelf and press A on ZyperOS Test.nes. The game runs in the same window, and each button you hold lights a box on its screen. MENU opens the in-game menu over it, with Save, Load, the Display tab and Core Settings, right where a player finds them on the handheld.
Only the NES plays in desk mode for now: each system needs its emulator built for the Mac, and the NES's is the first one.
The keys
The keyboard is the handheld's buttons, the same map in desk mode and in the Simulator. The keys go by their place on a US keyboard, so on an AZERTY keyboard Z is the key marked W, and A the one marked Q.
| Key | Button |
|---|---|
| Arrows | The d-pad |
| X, Z | A, B |
| S, A | X, Y |
| Q, W | L1, R1 |
| E, R | L2, R2 |
| Return | START |
| Right Shift or Delete | SELECT |
| Esc or M | MENU |
| - and = | Volume down, up |
| [ and ] | Brightness down, up (the Brick's own keys) |
| P | POWER |
The mouse works too: click and hold any drawn key, and the wheel moves up and down. Hold Option to see each key's letter on its button. A game controller works as well, by the buttons' places. F1 in the window lists the rest: Cmd 1, 2 and 3 zoom, Cmd 0 the screen's real size on your display, Cmd B the screen alone, and Cmd S saves a screenshot to the Desktop.
The ZyperOS Simulator, step by step
Desk mode is the launcher alone. The ZyperOS Simulator runs everything: the Pixel 2's system, Linux and all, in QEMU on Apple's hypervisor, in a window drawn as the Pixel 2. It boots as the handheld does and runs the first-start setup. A panel beside the handheld sets what a player can't press, the battery level, the charging cable and the headphones, and the window shows what the handheld does with them: the side lights, the backlight and rumble. ZyperOS's first frame comes less than a second after QEMU starts, and a NES game runs at its full 60 frames a second.
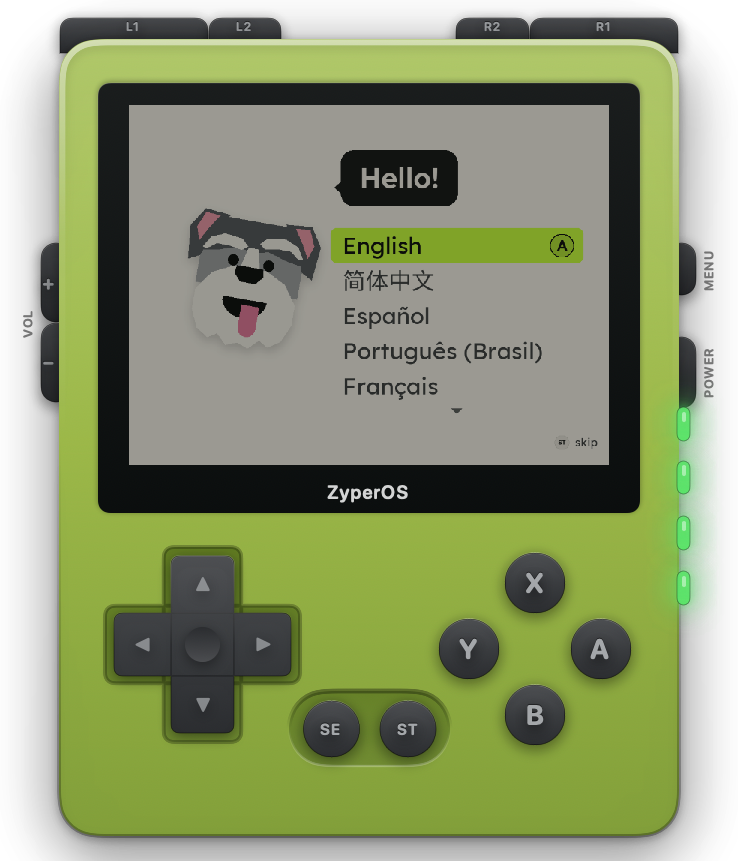
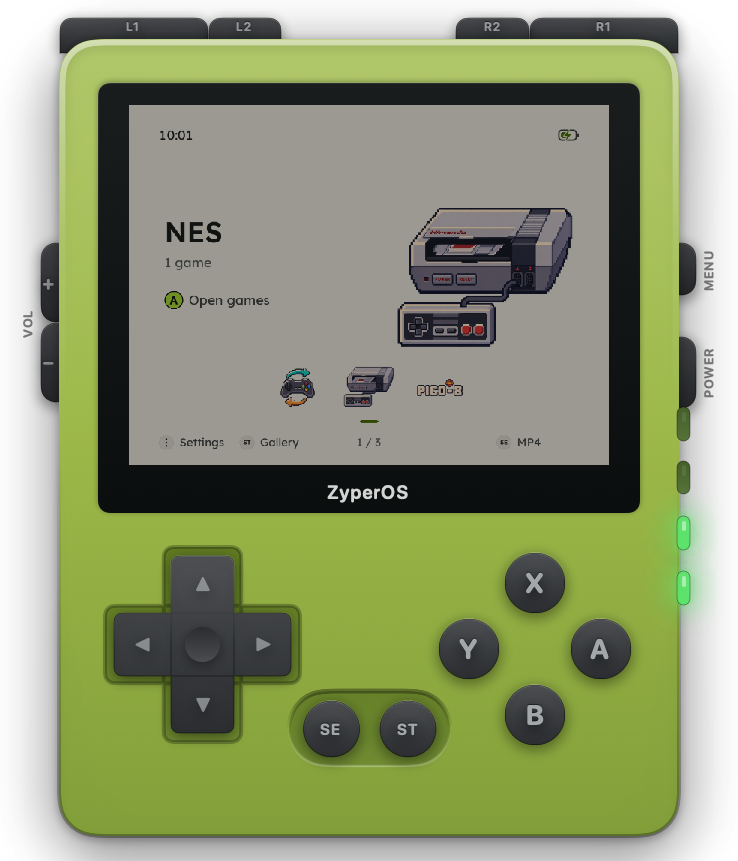
It needs a Mac with Apple silicon and macOS 14 or later, Xcode's command-line tools, QEMU, and a QEMU image of ZyperOS. Today you build that image yourself with plastron, ZyperOS's Linux, in Docker. The first build takes a few hours, as it builds a whole toolchain and then LLVM for the graphics. After that, a build takes minutes. There is no SSH key to set up: tools/qemu-run.sh hands the virtual machine yours, or makes one for it.
- Install Docker Desktop and start it.
- Install QEMU:
brew install qemu. - Build the image, from the
ZyperOSfolder:make -C plastron qemu. - Build the app and open it:
simulator/scripts/build-app.sh
open "simulator/build/ZyperOS Simulator.app"
The window starts its own virtual machine, and shuts it down when it closes. Click the drawn buttons, or use the keys above, plus H for the headphones. View > Hardware Panel (Cmd I) opens the panel, and the Device menu has the charging cable, the battery levels and Save Screenshot.
Every release from 1.1.0 on will carry its QEMU image, and tools/qemu-run.sh fetch downloads it and checks it against the release's SHA256SUMS, in place of the long build and Docker. Until 1.1.0 is out, the build above is the way.
What a Mac can't show
- Speed. Your Mac's processor and graphics draw it, so how smooth a menu or a game looks on your Mac says nothing about the handheld. I measure that on the handheld itself.
- The screen. Your display's pixels are not the Pixel 2's 2.4-inch panel: a word that is easy to read at your desk may not be in your hand.
- The hardware. Wi-Fi, Bluetooth, USB, sleep and a real battery need a handheld. The Simulator stands in for the battery, the charger and the lights.
Help build it
If you want to help, with code, translations, or by telling me what feels wrong in a menu, come say hi on the ZyperOS Discord. The source is on GitHub, under GPL-3.0, with its developer docs beside it. And when you want ZyperOS in your hands, installing it takes three steps.