How to Install Custom Firmware on the GKD Pixel 2
On the GKD Pixel 2, the whole system lives on the microSD card. So installing custom firmware does not change the handheld at all: you write the new system to a card and boot from it. Keep the card it came with and you can always go back. This guide covers the steps every system shares, and what is different for ZyperOS, ROCKNIX, TortOS, plumOS and ROGUE OS.
On this page
Before you start
- A second microSD card. Use a new card for the new system, and put the stock card away. plumOS asks for one of at least 16 GB; the others name no minimum. Get one big enough for your games.
- A card reader for your computer.
- A program that writes disk images, such as Raspberry Pi Imager or balenaEtcher.
ZyperOS also has ZyperOS Installer, for macOS, Windows and Linux, which downloads its latest release and writes it for you. The ZyperOS section below has its steps.
Step 1: keep the stock card safe
The card that came with your Pixel 2 holds its stock firmware, and some sellers ship games on it too. Writing an image to a card erases everything on it, so do not write over that one. Put it away, and if you want a spare, make a full image of it first with a disk imaging program. To go back to stock at any time, turn the handheld off and put that card back.
Step 2: download the image for the Pixel 2
Each project publishes a file for the Pixel 2. As of 7 November 2026:
| System | The file | Notes |
|---|---|---|
| ZyperOS | ZyperOS-v1.0.1-pixel2.img.xz | Or ZyperOS Installer, for macOS, Windows and Linux, which downloads and writes it for you. |
| ROCKNIX | ROCKNIX-RK3326.aarch64-20261101-b.img.gz | The RK3326 "b" image is the Pixel 2's. Windows users can use the ROCKNIX Image Burner instead. |
| TortOS | TortOS-v2.1.1-pixel2.img.xz | Or TortOS Installer, for macOS, Windows and Linux, which downloads and writes it for you. |
| plumOS Pixel2 | plumOS-Pixel2-v0.1.4-sd-image.7z | Extract the .img from the .7z first. The project says this fresh image has not had its final boot test. |
| ROGUE OS | RogueOS-v1.0.zip and its five parts, about 5.7 GB | From its first release. Then the newest release's Image and SYSTEM files go on top (step 4). |
Check the download against the checksum file each project publishes beside it, where there is one. ZyperOS, ROCKNIX, TortOS and plumOS publish one.
Step 3: write the image to the card
- Put the new card in the card reader.
- Decompress the file if the project says to. ROCKNIX's docs say to decompress the image first, and plumOS's
.imgcomes out of a.7z. - Open the image writer, choose the image and the card, and write. Check twice that you chose the card, not another disk: the writer erases what it writes to.
- Eject the card when the writer says it is done.
ROCKNIX's docs name Rufus, Raspberry Pi Imager and Win32 Disk Imager; plumOS's name Raspberry Pi Imager and balenaEtcher; ROGUE OS's notes name balenaEtcher; TortOS's README says any program that writes disk images.
Step 4: the first boot
Put the card in the Pixel 2 and turn it on. The first boot takes longer than the rest, because each system makes the space for your games on the rest of the card:
| System | On the first boot | The games space |
|---|---|---|
| ZyperOS | Turns the rest of the card into ZYPEROS in about a minute, then starts the tutorial | exFAT: a Mac or PC reads it |
| ROCKNIX | Runs its install process, then reboots | ext4 over the whole card: Windows and macOS do not see it |
| TortOS | Turns the rest of the card into TORTOS | exFAT: a Mac or PC reads it |
| plumOS Pixel2 | Makes its PLUMOS_USER volume and may restart once. Do not cut the power, and add games only after it | FAT32: a Mac or PC reads it |
| ROGUE OS | Before the first boot: resize its ROMS partition with a partition tool, then copy the newest Image and SYSTEM over the ones on its EMUELEC partition. It may turn off once at the first start, as a file check | – |
Step 5: add your games
Every system has its own folder names. On ZyperOS games go in Roms/<console>, and you can send them over Wi-Fi or the USB cable as well as with the card in a computer. The adding games guide shows how.
Installing ZyperOS
ZyperOS 1.0.1 is out for the Pixel 2, released in November 2026. Each release on GitHub has the card image and ZyperOS Installer for macOS, Windows and Linux. To install it:
- Download ZyperOS Installer for your computer from the latest release.
- Put the microSD card in the computer, then pick the GKD Pixel 2, the latest release and the card. Choose Fresh install, which erases the card. Or write the card image with any program that writes disk images, like Raspberry Pi Imager.
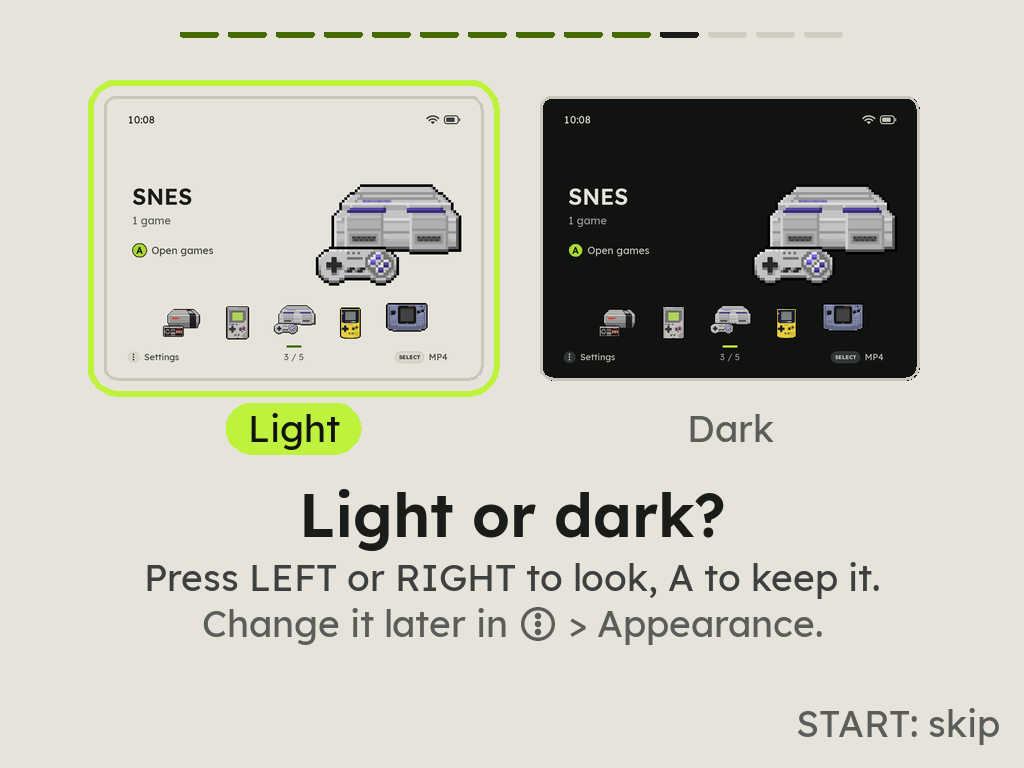
- Put the card in the Pixel 2 and turn it on. The first start sets the card up in about a minute. Then Zyper teaches the buttons and asks four things: the theme, the home screen, the button sounds and the menu music.
- Set your time zone in MENU > Date & Time. Without Wi-Fi, set the time there too, and it keeps it.
ZyperOS Installer's Update puts a new version on a card that already has ZyperOS and keeps its games, music and saves. On the handheld, System Update brings new versions over Wi-Fi, or over the USB cable from the File Transfer page. To build the card image yourself instead, docs/building.md explains how.
Going back
Turn the Pixel 2 off and put another card in. The handheld starts whatever system is on the card, so the stock card brings the stock firmware back, unchanged. Everything a system keeps, Wi-Fi passwords included, is on its own card: wipe a card before you give it away.
Sources
- ZyperOS README, Install and the user guide, Installing.
- ROCKNIX: release 20261101 (the Pixel 2's file), release 20260801 (Pixel 2 support added), rocknix.org, Install and FAQ (the ext4 card).
- TortOS: release v2.1.1, README at aafe6de, TortOS Installer at 5636763.
- plumOS Pixel2: release v0.1.4, README and docs/user/install.md at dec872c.
- ROGUE OS: release 1.22, release 1.0 and README at f567073.